![]() |
| Friends nails - sculptured acrylic nails with blue glitter tips and snowman hand painted with acrylic paint. |
Thursday, January 10, 2013
More Nails
Friday, November 2, 2012
Manicure of the Week and Nail Polish Review
My manicure for this week is quite simple because I can finally start growing my nails I thought I would do a coloured french manicure, so instead of doing a whole lot of tutorial photos I thought I would review the nail polishes that I have used in this manicure.
| Coloured French with reverse ring finger. |
I applied my regular base coat, OPI Nail Envy Nail Strengthener for Sensitive and Peeling Nails (it's the one with the orange writing). This base coat works well for me, I don't have sensitive or peeling nails so I can't judge it on its ability to help with that but it helps to prevent staining on my nails. I do still get slight staining when I wear green and blue polishes, so I recommend trying two layers of base coat if you are using blue or green polish.
Next I applied two coats of OPI Pink Flamenco to all my nails except my ring fingers. This colour applies nicely to my nails and is opaque in two coats. It is also very shiny, even without a topcoat, but I always apply a topcoat so I get as much wear as possible.
Next I applied three coats of Revlon Orange Pop, which is scented when dry. Like all Revlon polishes that I have tried this colour needs three coats to be opaque. It is less shiny than the OPI polish but this doesn't matter because I put a topcoat on top. At first I thought the scented when dry idea was a silly gimmick because you can't smell it after you have put top coat on, but I find it useful. I know that when I can smell the orange then the polish is dry and ready for another coat.
I then free hand painted french tips on all my nails with the opposite colour. I did two coats of the Revlon Orange Pop and one coat of the OPI Pink Flamenco.
Once it was all dry I applied Nailene Acrylic Strong topcoat. This gives a nice shine and helps prolong the wear of my polish. But I do find that I can get bubbles in my nails when I use this topcoat.
Overall I like this combination of polishes and it usually lasts at least a week on my nails, although I do find that when my nails are longer the polishes tend to crack after a few days because my nails have more flexibility than the polish. I try to prevent this by adding a layer of topcoat every couple of days.
Labels:
french manicure,
nail art,
nail polish,
nails,
opi,
orange,
pink,
reviews,
revlon,
tutorials
Thursday, November 1, 2012
Monday, October 29, 2012
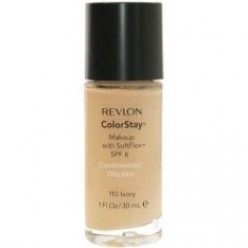
Revlon Colorstay Foundation Review
Pros Cons
Great coverage Smells like paint
Great colour range
Long lasting
Lightweight
No breakouts

How it works for me
I apply this onto moisturised skin using a stippling brush or foundation brush. I tend to start applying the foundation on my problem areas (for me, my chin), then work a thin layer onto the rest of the face and neck. I then go back and add another layer to any areas that need extra coverage.
For day to day wear I use Revlon Colorstay foundation without a concealer and I find it gives me enough coverage and I am not concious of my blemishes. I will however use concealer for a night out or when I know photos will be taken.
I set the foundation with a loose powder and for me it lasts all day. I do not use a primer everyday, only when I know I will be wearing my make-up longer than usual or when my skin is overly oily as in the summer.
The coverage can be built up to a full coverage by layering or can be left as a medium coverage. For such a high coverage foundation it feels lightweight on the skin.
I have never had any issues with Revlon Colorstay Foundation causing me breakouts. I feel as though it reduces the oil on my skin, but whether this is because it absorbs the oil or reduces oil flow I do not know.
This foundation has an SPF of 6, which isn't very high but I use this with an SPF moisturiser so this isn't a problem for me.
The only con I find is the smell. When wet the foundation smells like paint which at first was off putting but once the product has set on the skin there is no scent.
I use the colour 110 Ivory for combination/oily skin.
I highly recommend that you try this product.
It is around $40 in New Zealand. In my mind well worth the price.
Please feel free to ask questions and I will answer as best I can.
View before and after photos here.
Thursday, October 25, 2012
Garnier Miracle Skin Perfector All in One B.B. Cream Review
All opinions are my own and what works or doesn't work for me, may still work for you. If you don't want to read my full review, please skim down to the overview.
50 ml of product
Lasts 12 months once open
Price - On sale now for $14.86 from The Warehouse
Claims
"Garnier BB cream for immediately perfected skin with even tone and boosted glow. Blurs imperfections and smoothes fine lines. SPF15 protection and 24hr hydration."
First Impression
This product has a very strong smell, it is quite a nice smell but overpowering.
The packaging is simple and easy to use, the product is thick so doesn't run out of the tube but comes out smoothly when squeezed.
The colour looks quite dark on my hand but blends away quite sheer. On my hand it gives a light coverage with a definite orange look. It appears glowy but not greasy.
Thoughts
I first applied this to my face with my fingers, it gave little to no coverage. I let the product settle and then applied another layer in an attempt to build up coverage, it did not work. I have also tried applying the B.B. Cream with a brush which did give slightly more coverage but still a light coverage.
The colour is far too dark for my skin and there is no lighter option. I set the B.B. Cream with a lighter powder to counteract the orange.
I do not feel that it immediately perfects skin at all, the redness in my cheeks looked the same as before. It did nothing to "blur" my blemishes. Unless you have excellent skin you would need to use a concealer with this product.
As for the claim of 24 hour moisture, it is very moisturising, I don't know if it gives 24 hours of moisture because I moisturise morning and night.
This product did give my skin a glow but not in a good way. My face was left glowing with an oily shine. Even after applying a a powder, my skin still looked oily.
I wore this B.B. Cream for a few days then it started to break me out, I stopped using it and let my skin recover. I then tried it again to make sure it was this product that broke me out and again after using the B.B. Cream for a few days I broke out.
Overview
I have combination/oily skin with an oily skin and I generally only get breakouts on my chin. This product gave very little coverage, which can be forgiven because it is not claiming to be a foundation. Its strong smell can also be forgiven as it is not unpleasant to me. But because it leaves me looking shiny, orange and feeling greasy as well as breaking me out all over my face, I will definitely not be repurchasing this product let alone finishing the tube.
This product may work on other skin types, especially those with dry skin and people who are not prone to breakouts. I did like the way it worked on my hands which have normal skin. I feel this B.B. Cream is not suited for people with my oily/combination skin type.
Garnier does now have a B.B. Cream specifically made for oily/combination skin that is said to be non comedogenic but sadly this is not available in New Zealand. Hopefully it will be released here soon.
Sorry for the negative review but this is just my opinion of the product with my skin, it may work wonders for you.
Sunday, October 21, 2012
Easy Temporary Tattoo Nail Art
Hello internet people!
I love doing nail art and I recently lost my nail art guinea pig to overseas travel, so I have been suffering a little bit of nail art withdrawal. I have been spending a lot of time watching nail art videos on YouTube.
I struggle to do nice nail art on my self because it is near impossible to get both hands looking the same quality. As I mentioned in a previous post, I am definitely not ambidextrous. I stumble upon the temporary tattoo technique whilst watching YouTube videos, it basically involves painting your nails, sticking a tattoo on top then sealing with a top coat. Great for getting both hands to look good.
Here are some pictures showing how I did my temporary tattoo nail art.
I hope you enjoyed my nail art, you can recreate this in your favourite colour and with any tattoos you can find. Remember you can also cut up the tattoos like I did if they are too big for your nails.
Thanks for stopping by. :)
I love doing nail art and I recently lost my nail art guinea pig to overseas travel, so I have been suffering a little bit of nail art withdrawal. I have been spending a lot of time watching nail art videos on YouTube.
I struggle to do nice nail art on my self because it is near impossible to get both hands looking the same quality. As I mentioned in a previous post, I am definitely not ambidextrous. I stumble upon the temporary tattoo technique whilst watching YouTube videos, it basically involves painting your nails, sticking a tattoo on top then sealing with a top coat. Great for getting both hands to look good.
Here are some pictures showing how I did my temporary tattoo nail art.
| Start with freshly manicured nails. I filed my nails, gently pushed back my cuticles and applied cuticle oil. Make sure you remove the cuticle oil by washing your hands before applying polish. |
| Always apply a base coat to prevent staining your nails. I used OPI Nail Envy. |
| You need to apply a base colour of your choice. I chose OPI Fly and applied two coats. Make sure the colour is completely dry before starting with the tattoos. |
| These are the tattoos I used. They cost $1. |
| I cut shapes out of the tattoos that I wanted on my nails. I applied it by placing the tattoo on to my nail then pressing a damp cotton pad on top for 10 seconds. |
| Thumb with star tattoo applied. |
| Finished nails with two coats of Nailene Acrylic Strong Top Coat. |
Thanks for stopping by. :)
Saturday, October 20, 2012
Quick, Easy, Everyday Eye Make Up
Here is how I do my eyes most days. Occassionaly I will apply a gold shadow to the lid.
![]() |
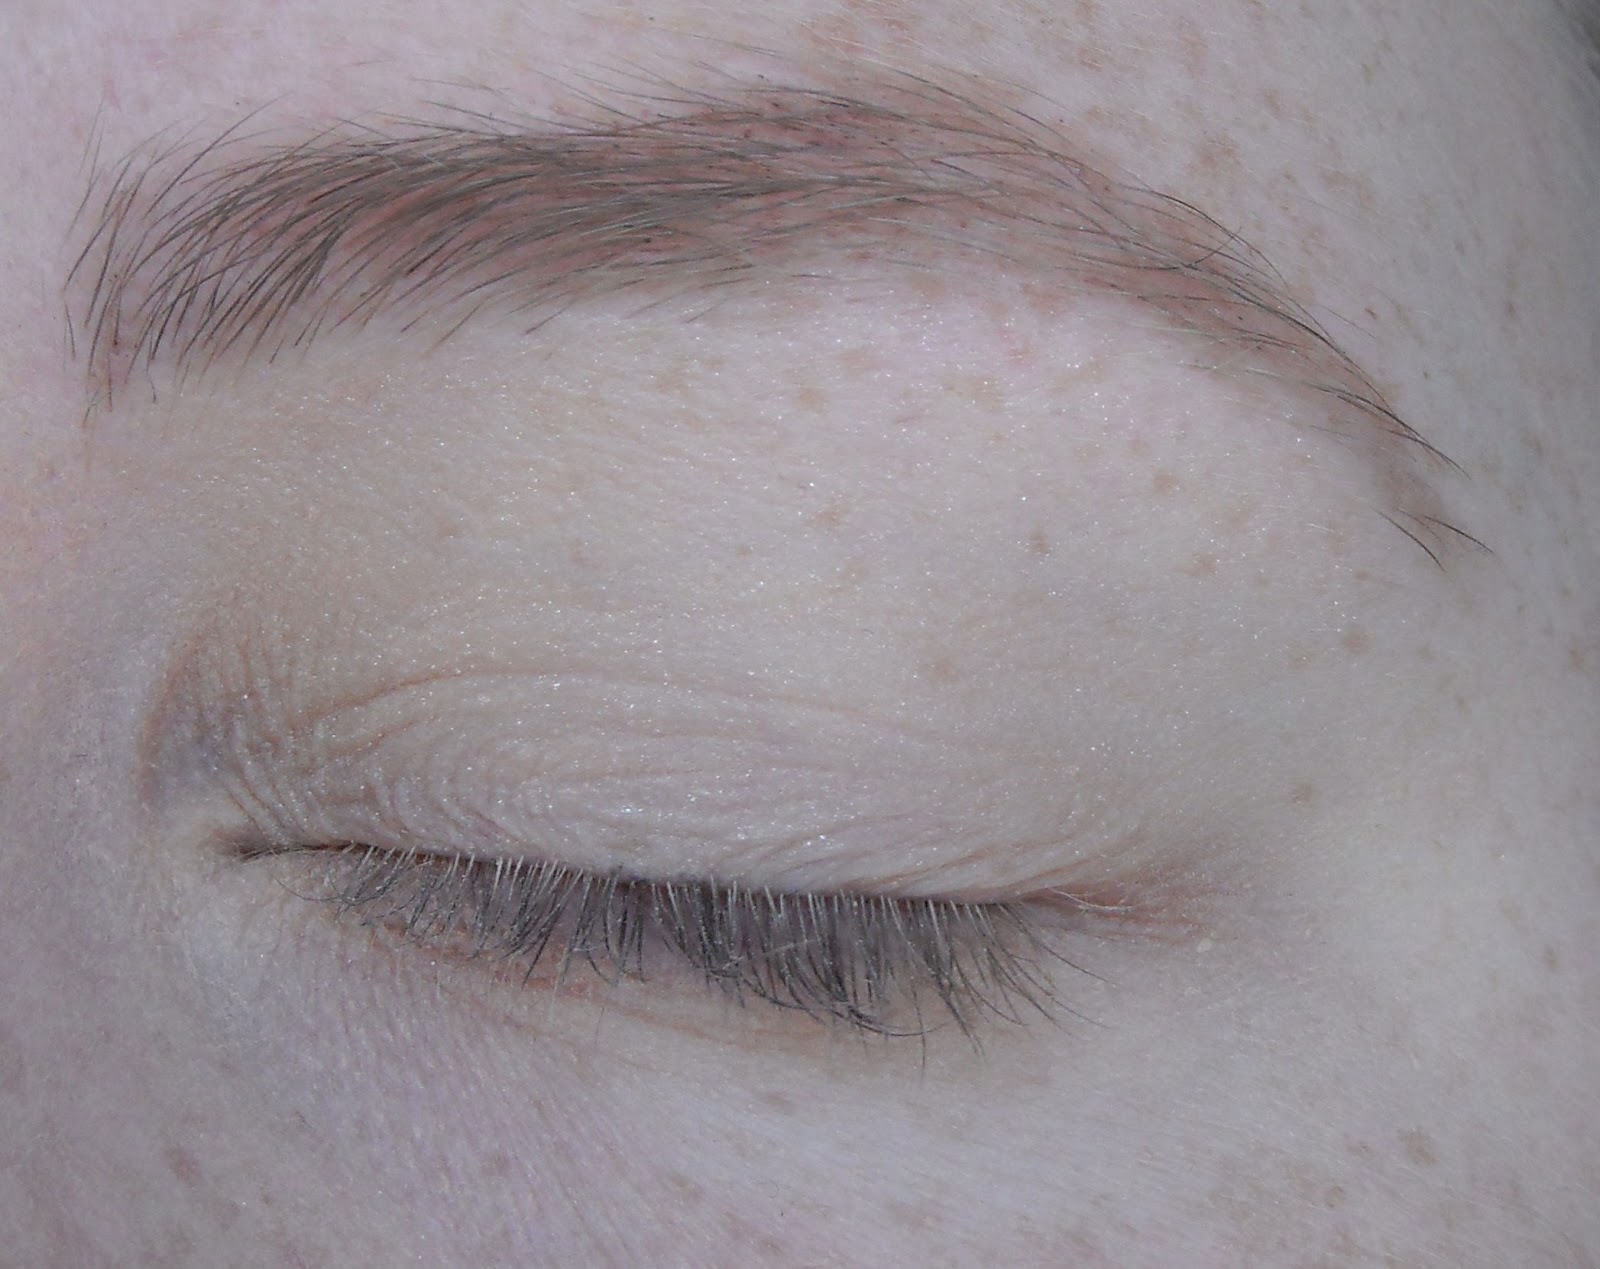
| Start with a clean eye. |
![]() |
| Fill in your brows if you need to. I have used a Za eyebrow pencil. |
![]() |
| Apply a shimmery skin tone shadow to the entire eyelid up to the brow. I have used a pale shimmery colour from my Wendy Hill Eye Shadow palette. |
![]() |
| Apply a matte brown eye shadow to the crease and outer third of the eyelid. I have used a Rimmel Eye shadow in the colour Dusk. |
![]() |
| Apply the matte brown shadow to the outer two thirds of the lower lash line. |
![]() |
| Apply brown gel eye liner close to lash line in a slight wing. I have used Maybelline's Gel liner in brown. |
![]() |
| Tight line your eye with brown gel liner. This step is optional. |
![]() |
| Apply Mascara to top and bottom lashes. I have used Rimmel Sexy Curves Mascara. |
![]() |
| Eyes |
![]() |
| The completed eyes. |
Labels:
beauty,
easy,
everyday,
eyes,
eyeshadow,
gel eyeliner,
make-up,
pictures,
quick,
Rimmel,
simple,
tutorials
Subscribe to:
Posts (Atom)