Showing posts with label Rimmel. Show all posts

Tuesday, October 6, 2015

Current Favourites

I don't think I have ever done a favourites post before so here goes my first one. You will probably notice a recurring theme in these products, I love things that have multiple uses. These favourites are in no particular order.

Current Favourites

Goodness Chia Seed Oil - I recently bought the Goodness Skin Care trial kit and I really love all of the products in the kit but I especially love the Chia Seed Oil. I use it morning and night, it really helps to moisturise my skin and calm my breakouts. I have also noticed since switching to the Goodness skin care range my lips have been a lot less dry. This Oil also works great on my cuticles.

Sukin Hydrating Mist Toner - I also picked up this toner when I bought the Goodness Kit, I had used it before and I remembered it being nice so I thought I'd give it another go. I think I love it even more this time around. I use it after washing my face before applying the Chia Seed Oil and moisturiser. I also use it before applying my makeup and after to set down any powders. Its also great as a refreshing mist throughout the day. Plus it has a lovely rose smell. I practically bathe myself in this mist twice a day.

Nars Albatross - Before I bought this I rarely highlighted my face and if I did I would just use an eyeshadow. Albatross has started my love affair with all things shimmery. I use this product as a face highlight as well as an eyeshadow. It is such a lovely colour although sometimes I feel it can be a little strong as a face highlight for everyday but it is great for a more glam look and makes a beautiful lid colour.

Maybelline Colour Tattoo in Barely Branded - I use this in basically the same way as I use the Nars Albatross, although this colour is more of a champagne gold and I find it gives a much more natural look for everyday. I also use this on the eyes either as a base for other colours or just on its own. I love this product as my everyday face highlight and if you want an extreme highlight you can layer the Colour Tattoo with the Nars Albatross. It is a cream product but it dries and lasts forever on the skin.

Rimmel Natural Bronzer in Sun Bronze - I also never really bronzed my face before getting this bronzer, I always thought I was too pale for bronzer and I would end up looking orange. This bronzer is  a great colour and the pigmentation is not too strong, so you can build up the colour to your liking. On a everyday basis I will just use this bronzer to warm up my face and skip out on the blush. I also love to run this bronzer through the crease of my eye to add a little definition. It also works great as a transition shade for most eye looks.

Have you tried any of these products? What did you think?

Tuesday, September 22, 2015

Everyday Make Up Look - Mini Reviews

Benefit Hello Flawless Oxygen Wow Foundation in Ivory - Before and After
I filmed a little GRWM video on this make up look and I though for my blog I would do some mini reviews of the products I used.

Starting with the foundation I used Benefit Hello Flawless Oxygen Wow Foundation in Ivory. This foundation has more of a dewy finish than the Estee Lauder Double Wear Light Foundation. It also has less coverage and this colour is quite yellow, but because it isn't full coverage it doesn't end up looking too yellow on my skin. I like the finish that this gives to my skin but it doesn't last very well with my oily skin. It is definitely a foundation that needs powder.

Under my eyes I used the Maybelline Fit Me Concealer in fair. This concealer is ok. The colour isn't perfect for me, it is quite pink toned and light so if I use too much I look a little crazy. I also find it settles into the creases under my eyes.

I used Estee Lauder Double Wear Concealer in 1C light to conceal my many blemishes. I really like this concealer, it covers well, lasts really long on my skin. If I'm being lazy and don't want to wear foundation I will use this alone. The colour matches my skin really well.

For powder I used the Rimmel Clear Complexion Powder in Translucent. I picked this powder up while I was in the UK. I haven't really used it long enough to have a clear opinion on it but it does the job. I can't say it has wowed me but it also hasn't disappointed.

I used the Rimmel Natural Bronzer in Sun Bronze to bronze up my skin. This is really great pale girl bronzer, its not too pigmented so you can build up the colour instead of going in too strong. Its also a great colour, not too orange and according to the packaging it is waterproof. It also has quite a perfumed smell which I can't say I'm too fond of and I was a little worried the fragrance might break me out, so far it has not. I also used this as eyeshadow in my crease.

On my cheeks I used the Top Shop Cheek and Eye Duo in Bitten Cherry. This is very pigmented and dark. After watching back the video and looking at the pictures I think this is too dark for my pale skin on an everyday look. It would be great for a dark vampy look. I also think I applied it too low down on my cheeks, so that doesn't help. It is a really great colour and I can see it being a lovely eyeshadow.

I used Nars Albatross for my highlight and also as an eyeshadow. I love this product, it is so beautiful. I do think it is possibly a little too much for everyday on my fair skin because it has a very gold reflect and I think something more champagne or peach looks more natural on my skin for everyday. I absolutely love this as an eyeshadow as well.

On my brows I used the Jordana Eyeliner in Taupe. I have used this a long time, it gives a great natural looking brow that is not too warm toned. Also can't go wrong with the price.

For eyeliner I used the Nutrimetics Defining Waterproof Eyeliner in Mahogany. I don't love this product but its not bad. I like that is retractable so I don't have to worry about sharpening, it doesn't smudge or transfer throughout the day. Its not a bad eyeliner but I just don't love it for some reason.

I used a sample of the Estee Lauder Sumptuous Extreme Mascara in Extreme Black. This is an ok mascara. Defiinitely looks better when I curl my lashes, but most mascaras do. It added length and thickness and doesn't smudge through out the day. Overall a good mascara but I don't think its really any better tan a lot of cheaper mascaras I have used.

Finally on my lips I used the Rimmel Provocalips in I'll Call You. The colour is a great muted hot pink, very wearable everyday. The product is good too. Easy to apply, lasts well. It does end up peeling off at the end of the day and does wear off a little in the inner rim from eating. I like to carry a tinted lip balm product with me so if it starts to wear off in the inner rim or is getting a bit dry, I can apply the balm. The tinted colour of a balm helps to blend the apocalips colour with your nude lip colour so it isn't such a stark difference.

Overall most of these products I would recommend. I can't really bash any of the products I used in this GRWM. My favourite product would probably be the Nar Albatross, because it is so pretty and shimmery I could stare at it all day. My least favourite product is the Maybelline Fit Me Concealer just because I think the colour I have is a little off on me and it does crease a little.

Here is the video if you would like to watch.


Monday, September 7, 2015

Estee Lauder Double Wear Light Foundation Review


I think the best way to start off a foundation review is to tell you a little bit about my skin type. I have combination skin, I get quite oily in my T-Zone, my cheeks are fairly normal and I also have dry patches on my nose and chin. I am also quite prone to breakouts from new products as well as hormones.

I picked up the Estee Lauder Double Wear Light in Intensity 1 while I was away on holiday in the UK. I had heard great thigs about the longevity of the regular Double Wear foundation but I wanted something lighter and more natural looking for everyday wear. I was colour matched at Selfridges in London, I first though I would be the lightest colour, which is intensity 0.5, but this was a very yellow based colour and did not match me well. Intensity 1 has more of a pink undertone which I generally am not too keen on but this colour matched me well in store. After wearing the foundation a few times, although the colour matches my face very well, I wish there had been a more neutral colour between Intensity 0.5 and Intensity 1 to match my body a little better because my body has a slightly warmer colouring than my face. But this problem is easily fixed with a little bit of bronzer.

In the pictures below, the first picture is my bare face with no products. The second picture is with only the Estee Lauder Double Wear Light Foundation on and the third photo is with a full face of make up.

Before and After Estee Lauder Double Wear Light Intensity 1

Estee Lauder Double Wear Light claims to wear for 15 hours, I have not worn the foundation for 15 hours but I have for a full 12 hour day and it hold up very well. I have no issues with the foundation breaking up or rubbing off. I sometimes lose some foundation from around my nose but this is only if I have been frequently blowing my nose.

The foundation also claims to control oil and resist smudging. I definitely agree with this statement. I often have problems with other foundations rubbing off onto the collars of black jackets but this foundation has not done so. As for oil control it does the job well. With a non oil controlling foundation my face will be shiny with oil within an hour or two, with this foundation I don't even need to powder and I am left oil free for at least 6 hours and even then I do not look greasy but my skin has a healthy glow and is no longer matte.

This foundation does not feel heavy on the skin but I feel as though you can tell you are wearing foundation from the look of it. This may be just because it has such a matte finish that it does not look skin like. This is not a problem for me because I like to be able to add shine in the areas I want it.

Applying the foundation is fairly easy, I choose to use a Real Techniques Buffing Brush to apply mine because I don't like using my fingers. If you are having trouble blending this foundation, try applying it with your fingers because the warmth of your hands helps it to blend seamlessly into all areas of your face. I do find if I am not careful when applying, the foundation can exaggerate some of my larger pores around my nose. Also once the foundation sets it can grab on to dry patches, for me this was only an issue when I had a healing spot that meant flaky skin.

With Flash
I do find the Estee Lauder Double Wear Light Foundation is not the best with flash photography, most likely because it has an SPF of 10. It doesn't look too bad in this flash photo but I have had worse photos also. I find that you can counter the flashback look by useing bronzer and blush to give your face shape and leave the centre of your face bright. I wouldn't recommend this photo for occassions with flash photography but I also wouldn't avoid flash photos if I was wearing it. That doesn't really make sense but I'm trying to say the flash back is not that bad but if you knew there were to be a lot of flash photos, maybe avoid this foundation.


On the rest of my face, I used some Maybelline Fit Me concealer in the colour 15 Fair under my eyes and Estee Lauder Double Wear Concealer in the shade 1C Light on my blemishes. I used Rimmel Stay Matte Powder in Translucent to set under my eyes and on my lids. I used Rimmel Natural Bronzer in 022 Sun Bronze around the perimeter of my face and under my cheekbones, I also put a little bit of the same bronzer into the crease of my eye. I used the Top Shop Cheek and Eye Duo in Bitten Cherry on my cheeks. I used Jordana Eyeliner in 20 Taupe to fill in my eyebrows,  Nutrimetics Defining Waterproof Eye Pencil in Charcoal in my tightline and Rimmel Wonder'full mascara with Argan Oil in Extreme Black on my lashes. On my lips I used Nutrimetics Perfecting Lip Pencil in Nude and Collection Work the Colour Lip Butter in Vintage Rose. Finally I finished with a dusting of Nars Albatross on my cheek bones, brow bones and nose.

Overall I would recommend this foundation to anyone that has oily skin and struggles to keep their make-up looking good all day. This foundation lasts all day for me without powder, if its really hot or I know its going to be a long day I will powder for extra protection. It does not break me out which is wonderful. Its not ridiculously expensive at $69 although I would recommend trying a sample before committing to spend that much money. It feels weightless to wear and is easy to forget that it is on at all. This foundation is not full coverage but you can build the coverage by adding a second layer, although i fell like this is when it starts to look less natural on the skin. I prefer to do one layer and then pin point conceal the areas that are still showing through.

I feel like this review was all over the place, if I missed anything or you have any questions, please comment below.

Friday, May 24, 2013

F.O.T.D Friday: Navy Blue Intense Eye Tutorial


Intense Navy Eye
This F.O.T.D. is a little different, normally I will be doing my make up for work or going out somewhere and choose to document it for my blog. This time I was bored and thought I'd have a play doing something more intense.

I started the same way as last week applying the Designer Brands Moisturising primer with my hands.

I then applied my Revlon Colorstay Foundation in Buff with my Real Techniques Buffing Brush.

Next I sprayed my face with the Australis Finishing Spray and pressed it into my foundation.

You could powder your face at this point, I forgot so I didn't do it until the end but I used the Rimmel Stay Matte Powder in Transparent.

I then applied the darkest colour from the Revlon Illuminance Creme Eyeshadow in Electric Pop to my lid and blended out the edge into the crease.

I then applied a bright blue eyeshadow to my lid.

I then took a slightly deeper blue and blended it in the crease and outer V to act as a transition colour. I chose to build up the colour with this look, so that I didn't go too dark too fast.

I then blended the edge with a clean fluffy brush.

Next I added an even darker blue to the crease and outer V. I went back into the transition blue and blended the top edge.

I then used a black with blue shimmer in the crease and outer V into the outer edge of the lower lash line.

I then used the same shadows under the eye.

I added under eye concealer to help shape the lower shadow. I used Wendy Hill's A Good Nights Sleep.

I also highlighted my inner corner with a pale blue.

I then went on and filled in my brows before coming back to smudge a covergirl black pencil liner into the lash line. I smudged over it with the black with blue shimmer.

I then lined my waterline and tightline with Maybelline Gel Liner in Black.

I then added Revlon Growluscious Mascara.

I foinished the face with my LA Colors Contour Powder and a pale pink blush and also a highlight.

I then wore a nude lip using L.A. Colors lipliner in Nude, Wendy Hill lipstick in Au Naturel and a nude gloss from Models Prefer.

Please watch the video to see exactly where I placed the eyeshadow. Sorry it is a bit long but feel free to skip throught to the bits you want to see.


Friday, May 17, 2013

F.O.T.D Friday: Pink and Purple Eye

Pink and Purple Eye
I did this make up for work, it is quite natural, but a little different with a bit of purple thrown in there.

I forgot to take a before photo but if you watch the video you can see my beautiful no make up face.

I started off with the Designer Brands moisturising primer because a few of my spots were a little dry and this primer helps to stop my foundation clinging to them.

Next I applied Revlon Colorstay Foundation in Buff using the Real Techniques Buffing Brush.

I then sprayed my face with the Australis Make Up finishing spray and buffed it into my foundation a bit to make sure my foundation was blended well.

Next I applied a pale shimmery pink to my eyelid and then a bright purple shadow into my crease and outer V, I then blended it. I also applied a small amount of the pink to my brow bone. And defined my lower lash line by applying the purple to the outer corner of the lower lashes.

I then did a thin, slightly winged liner with my Maybelline liner.

I drew in my eyebrows using the Rimmel Eyeshadow in Dusk and then set them with the L.A. Colors clear mascara.

I set my foundation with the Rimmel Saty Matte Powder in Transparent.

I contoured with the L.A. Colors pressed powder in Cocoa.

I applied a pale pink blush to my cheeks and highlighted my cheeks with a skintone shimmery shadow.

On my lips I am wearing L.A. Colors auto liner in Nude and Wendy Hill Lipstick in Au Naturel, as well as a little bit of a nude Models Prefer Lip gloss.

Here is the video, if you want to watch me ramble on whilst I apply my make up.


Friday, May 3, 2013

F.O.T.D. Friday: Awake makeup

Somedays I wake up and I am shocked by what I see in the mirror. On this particular day I was feeling a little under the weather and very tired.

I wanted to make myself feel better and look more awake so out came the makeup.

Before and After
On my scary face days, when I want to look my best I always reach for my Revlon Colorstay Foundation. In this picture I am wearing Revlon Colorstay Foundation in Buff with Maybelline Dream Matte Powder in light on top. I am also wearing Rimmel Match Perfection 2 in 1 Concealer and highlighter in Ivory.

On my cheeks I have contoured a little bit with L.A. Colors Pressed Powder in Cocoa. I have a little bit of both colours from my Wendy Hill Cheek Duo in Riviera as my blush. I have also highlighted with shimmery champagne coloured eyeshadow that I also used on my eyes.

On my eyes I have a winged cut crease kind of look. For a closer look at my eyeshadow have a look here in my Revlon Mascara review. I used a champagne shadow all over my lid then used my Rimmel Mono Eyeshadow in Dusk in the crease in a winged shape. Whenever I am feeling tired I always do a winged look on my eyes to make sure they look open and not down turned at the outside. I also have a little liquid liner on my top lash line.

On my lips I am wearing L.A, Colours Lip liner in Pinky and Designer Brands Lip Gloss in Strawberry Sorbet.

Monday, April 15, 2013

Rimmel Glam'Eyes Mono Eyeshadow in Dusk Review


Today I am reviewing the Rimmel London Glam'eyes Mono Eyeshadow in the colour 033 Dusk. I use this mainly as a brow powder.
You get 2.4 grams of product in this eyeshadow and it also comes with a sponge applicator which is actually not that bad. It has a thin end and a fat end, if I am in a rush I occasionally use the thin end to fill in my brows.

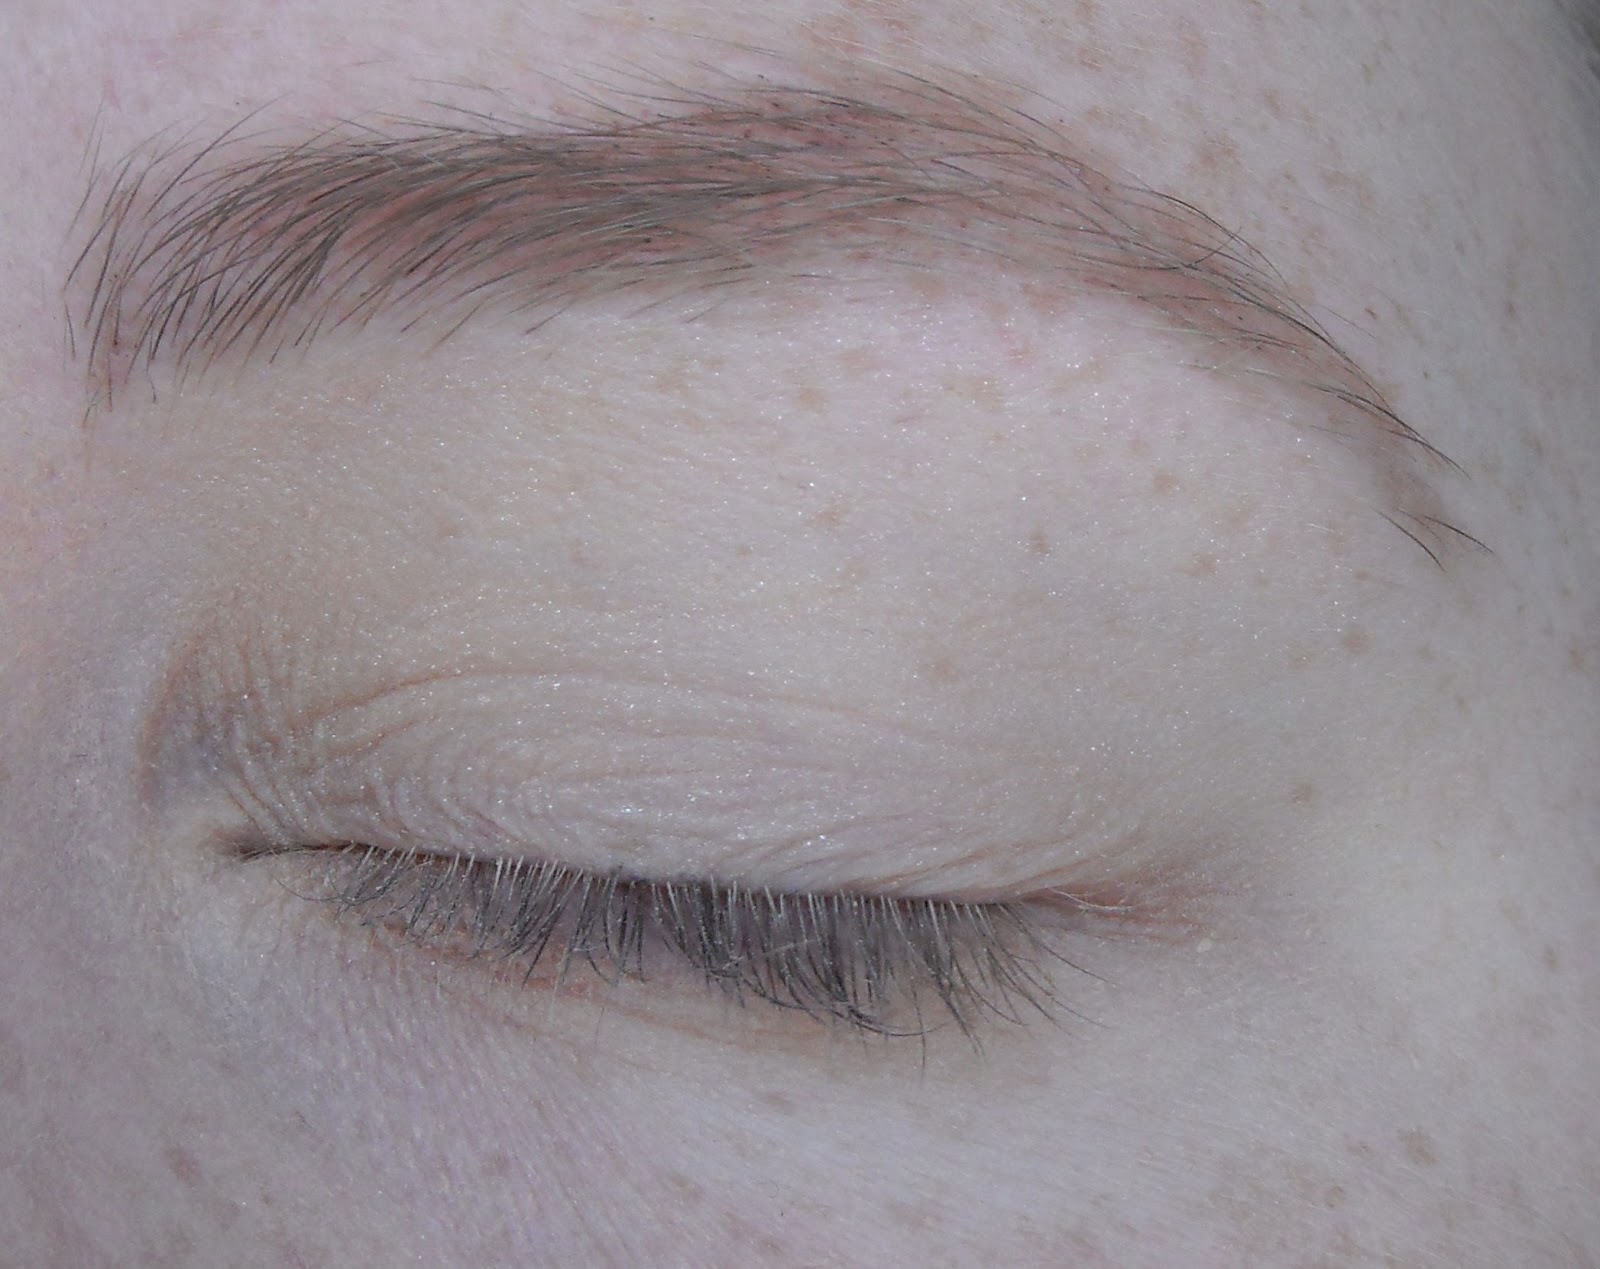
Before and After Natural Brow


In the top photo, the left brow has been filled in and the right has not. I think it gives quite a natural not over drawn look. Most of the time I set my brows with the LA Colors Clear Mascara and my eyebrows last all day. Even when I use the eyeshadow alone I have no issues with my brows disappearing through out the day.

In the second photo is my Rimmel Eyeshadow in Dusk and the angled brush I use to fill in my brows. I have been using this powder almost every day for at least a year, if not longer, and as you can see, I have barely made a dent in it.


033 Dusk Swatch


On the right is a swatch of the eyeshadow on my hand.
It is quite pigmented.


Dusk on the lids


On the left is the eyeshadow on my eyes. I have applied the  shadow on my lid then blended it into the crease in a winged shape. I have also applied a little under the eye, then liner, mascara and inner corner highlight.
This is an easy way to do a daytime smokey eye. It adds definition to your eyes without making it look like you tried too hard.


This is a great versatile eyeshadow. It can be used all over the lid, just around the lash line or in the crease and best of all because it is matte it can be used as a brow powder. I find it good as a brow powder because I can build up the colour, keeping them more natural for the day time or darkening my brows for a more dramatic eye look.

Thursday, April 11, 2013

Rimmel BB Cream Review


I have been on the look out for a cheaper, everyday alternative to my Revlon Colourstay Foundation for quite awhile and when Rimmel released its BB Cream here in New Zealand I new I had to give it a try. I have always been impressed with all the Rimmel products I have tried and the price is great.

I bought mine from The Warehouse for around $18 in a buy one get one half price sale, I also picked up the Hide the Blemish concealer for half price.

I believe there are 2 colours, light and medim. I chose light and the colour is maybe half a shade too dark but this works well for me because my chest is darker than my face and neck, so I just make sure to blend the BB Cream down my neck. If you are any lighter than me you will probably find this too dark.
It claims to be a 9 in 1 product. Primes, moisturises, minimises pores, conceals, covers, smoothes, mattifies, brightens and helps protect. I shall address each claim.

Primes - For me there are two types of primers, those that moisturise the skin making sure your makeup does not cling to dry patches and those that mattify the skin making your make up last longer and minimising pores. The product does not cling to dry patches but I wouldn't consider this a long lasting foundation.

Moisturises - This is definitely a moisturising product. I have used it with no moisturiser underneath and my skin still felt moisturised.

Minimises Pores - I'm not sure if it minimises pores but it does not exaggerate them. My pores look smaller with this BB Cream than they do when I use my Revlon Colourstay with no primer.

Conceals - As you can see from the pictures, this BB Cream conceals my more minor blemishes wonderfully. It does struggle a bit with my gigantic blemishes which even my full coverage concealers struggle to cover up. I would definitely wear this without concealer on a daily basis.

Covers- To me, concealing and covering are the same thing.

Smoothes - This BB Cream smoothes over any dry patches without clinging to them and also helps to moisturise them.

Mattifies - I did not find the BB Cream mattified my face at all. Perhaps this is because I have oily skin or on't leave it long enough to set. But I would never wear this without setting it with a powder, although this is personal preference as I never wear any liquid with out a powder.

Brightens - I would not have described this BB Cream as brightening but I don't really have any areas that I want to brighten. It did leave a dewy glow on my skin.

Protects - The BB Cream has an SPF of 25, which I think is pretty good for daily wear.

So, although it claims to be 9 in 1 I feel it's more like 6 in 1. For me the priming it does is the same as moisturising, concealing and covering are also the same thing. I don't find it mattifies or brightens my skin.

This BB Cream doesn't have a claim on how long it lasts on the skin,but on my combination oily skin I have to blot or powder every couple of hours and this will vary depending on your skin type and shine preference.

Lets get on to the photos. I'll start off by saying front on photos do not flatter my face at all but I wanted to show the product in the nest way possible. The first photo is my naked moisturised face, you can see I have a few large red spots on my chin and quite a few smaller red spots all over my face as well as freckles.

Photo 2 is after applying only the BB Cream using my Real Techniques Buffing Brush. The BB Cream has covered my less obvious spots and has significantly reduced the redness in my giant spots. It still lets my natural skin and freckles show through which I like.

In the third photo I have filled in my eyebrows, added mascara, under eye highlighter, powdered my face, a little bit of blush and applied lip gloss to show you the finished product.

Rimmel BB Cream Before and After

The BB Creams i have tried in the past have been more like tinted moisturisers that give little to no coverage. This BB Cream is more like a foundation that has the benefits of moisturiser. This has become my daily face makeup although I do still use my Revlon Colourstay when I need my makeup to last with out touch ups. I am really pleased with this BB Cream and would definitely repurchase.

Thursday, March 7, 2013

Maybelline Dream Matte Powder

Maybelline Dream Matte Powder claims to give air soft matte perfection and to not clog pores. Maybelline says it will magically match the skins texture and never settle in to lines. You get 9g of product for around $20.

I have the powder in light. This powder has a slight shimmer when you look at it in the pan but this is not noticeable on the face. I think this is why it gives a more natural glowy finish to the skin. The Dream Matte powder does not give me the same matte finish that my Rimmel Stay Matte does, but it gets rid of my oily shine and leaves the skin with a glowing finish. It definitely does not last as long on the face as the Rimmel powder and I have to retouch every few hours depending how hot it is and what I am doing.

I don't really have lines on my face so I can't say wether or not it settles into lines, I can say however that on close up it does settle into my pores making them look larger.

The packaging is much better than the Rimmel powder. It is still plastic but has a hinged lid that locks into place it also has a swivel out mirror and powder puff underneath which makes it ideal for carrying in your bag for touch ups.

The powder gives a fair amount of coverage. During the day I will wear it with some concealer under the eyes and it blurs imperfections enough for a daytime look. It lasts slightly better over my Revlon colorstay foundation than over bare skin.
I have not had any issues with breaking out whilst using this product.

Overall this powder gives a more natural finish than the Rimmel Stay Matte but does not last as long on the face. The packaging is excellent which makes up for it being slightly more expensive. If you are looking for a powder that leaves the skin completely matte I don't think this is the powder for you but if you want a more natural finish light coverage powder foundation then this is great. I don't think I could choose between the Rimmel and the Maybelline because they both do different things for my skin. If I was forced to choose perhaps the Rimmel with a highlighter. But then I really do like how natural this powder looks I just wish it lasted a little longer on my face. All in all I recommend trying this product because its only $20 and is a great setting powder.

Friday, January 11, 2013

OOTD - 11/01/2013


Since finishing my studies and not yet finding a job, I am leaving the house a lot less than I used to. I've decided that I am going to make an excuse to dress up at least once a week. By dress up I mean get out of my pyjamas and put on a bit of makeup. 

I'm posting my outfit of the day posts here so it will hopefully make me keep my promise to myself.


I am wearing a dress and belt that I bought from The Warehouse, the dress was on sale for about $10 and the belt I bought ages ago but it was definitely under the $20 mark.

My necklace was given to me by my parents for my 21st birthday.
The top middle picture is of two rings that fit together that I got from Silvermoon.
The bottom middle picture is of my bow ring that I got from Farmers.
My hairs is just yesterdays curls that I did with an ordinary GHD straightener.
On my face I am wearing Revlon Colorstay Foundation with Maybelline Dream Matte Powder over the top.
I am also wearing blush, highlighter and a little bit of contour.
I have run a matte brown eyeshadow through my brows.
I have a variety of light shimmery shadows on my lid with a small amount of black pencil liner on my outer corner and in my tight line. I am wearing Revlon Growlucious mascara.
On my lips I have a nude lip liner, lip stick and lip gloss.

The middle photo is a blurry before shot. I put it in there to show that I naturally have very light eyebrows a funny shaped face and not the best skin. Thankfully you can't see how bad my skin really is in the photo.

This is my first outfit of the day, hopefully there will be another post next week if not sooner. Expect to see much of the same outfits because I really don't have many dressy clothes.

Saturday, October 20, 2012

Quick, Easy, Everyday Eye Make Up

Here is how I do my eyes most days. Occassionaly I will apply a gold shadow to the lid.
Start with a clean eye.

Fill in your brows if you need to.
I have used a Za eyebrow pencil.

Apply a shimmery skin tone shadow to the entire eyelid up to the brow.
I have used a pale shimmery colour from my Wendy Hill Eye Shadow palette.

Apply a matte brown eye shadow to the crease and outer third of the eyelid.
I have used a Rimmel Eye shadow in the colour Dusk.

Apply the matte brown shadow to the outer two thirds of the lower lash line.

Apply brown gel eye liner close to lash line in a slight wing.
I have used Maybelline's Gel liner in brown.

Tight line your eye with brown gel liner. This step is optional.

Apply Mascara to top and bottom lashes. I have used Rimmel Sexy Curves Mascara.

Eyes

The completed eyes.
This is just a simple look that is quick and easy for early mornings. I hope you like this look and if you have any questions just comment and I'll answer as soon as I can.

Saturday, September 29, 2012

10 Products I would repurchase - September 2012

I wanted to take a break from reviewing products and thought I would do a fun post. Here are 10 products that I would repurchase if my make-up bag was stolen or destroyed. In no particular order.

1. Revlon Colorstay Foundation for combination/oily skin. My favourite foundation ever, lasts on my skin wonderfully so I don't need to use a primer and I could probably get away without a powder if I needed to.

2. Rimmel Stay Matte Pressed Powder. Keeps my skin matte all day, great for when i'm not wearing foundation but don't want to look like a greaseball.

3. Maybelline Eye Studio Lasting Drama Gel Eyeliner in the colour blackest black. Allows me to create a finished eye look with out eyeshadow.

4. Rimmel Glam Eyes Mono Eyeshadow in the colour Dusk. I use this as a brow powder, a contour and obviously sometimes as an eyeshadow. A multi use product that definitely deserves a place in this list.

5. Rimmel Sexy Curves Full Body Mascara. Great mascara, gives volume and length. Can get flaky towards the end of the day.

6. Wendy Hill Blusher Duo in Riviera. The blush is great for everyday and the bronzer allows you to warm up your skin when you need to.

7. Wendy Hill Lipstick in Au Natural. A great nude lipstick to give your makeup a finished look.

8. Rimmel Fix and Perfect Primer. Brilliant cheap primer. Reduces appearance of pores, make up last longer and makes skin feel silky. Also evens out skintone.

9. Designer Brands Lip gloss. They add a nice gloss to the lip without being too sticky and leave the lips feeling soft not dry.

10. Rimmel Stay Matte Concealer Stick. Good coverage but catches on dry skin. Great for redness if your skin is in good condition.

Those are my 10 products, some i would repurchase over others but I had to pick 10. Any questions about any of the products mentioned just leave a comment.

Wednesday, September 26, 2012

Rimmel Stay Matte Pressed Powder Review

Cost
$13 from Farmers. Marked down because of a crack in the lid.

Product
14 g of product.
I have the colour 001 Transparent

Claims
Up to five hours natural shine control with natural minerals.
Helps minimise the appearance of pores.

First Impressions
First time I applied this the powder it caught on all my peachy face hair and dry skin, I was not impressed. It did keep my shine at bay. I am someone that will get an oily glow an hour or so after applying make-up and the Rimmel powder kept me shine free for most of the day.
The packaging is a bit flimsy and the lid never really locks in place but in saying that when I dropped this product and it smashed, the lid stayed on and I was able to re press the powder.

Thoughts
Because the powder kept my face shine free all day, I decided to give it another go. I made sure to exfoliate my face well before applying the powder with a powder puff and dusting off the excess with a brush. It definitely applied better this way and reduced the look of my pores.
I have tried this product in conjunction with other products to see how it works best. I applied it over my Revlon Colorstay foundation as a setting powder. It kept my face shine free all day. I also applied this on top my Rimmel fix and perfect primer and my stay matte concealer. This gave a natural look with no shine all day.

Overview
My first attempt at using this product was not impressive, I'm not sure if maybe there was a film on top of the product that made it act the way it did or perhaps my skin wasn't in the best condition. I tried again with the powder because I had heard many good reviews of the product. I am now in love with the Rimmel Stay Matte Pressed Powder. It keeps my face shine free and my skin feels silky with it on. I apply it with a large fluffy blush on an everyday basis and with a powder puff if I'm going out and really want to minimise my pores. I feel it lives up to its claim of 5 hours shine control and can exceed 5 hours depending on the weather. I wore this powder over sunscreen when I went for a run and I was still not shiny. When used with the Rimmel fix and perfect primer I think it does minimise my pores and is overall a great product. I think I would repurchase this product and I recommend this to anyone that has issues with shiny, oily skin.

Thursday, September 20, 2012

Coming soon

I just bought a few products today, so expect to see reviews of some, maybe all of these;
Artiste Brush cleaner spray - basically just isopropyl alcohol with fragrance but I got it with loyalty points so that's OK.
Rimmel Stay Matte pressed powder in 001 Translucent.
QVS individual lashes. I have tried these before and I like them.
LA colors shimmering loose eye-shadow in Snow White.
LA colors auto lip liner in Fiery Red and also in Nude.
If your hanging out for any of these to be reviewed, just leave a comment below and I'll post that one first.

Frankie.