Showing posts with label easy. Show all posts

Tuesday, September 29, 2015

3 Ways to use Glitter with Gel Nail Polish

3 types of Gl Polish Glitter Nails
All of these techniques can be varied by using different polish colours and glitter colours. You can choose to use the same colour polish and glitter or use a different coloured polish and glitter. This looks especially good with method 1 using your manicure colour as the base polish and adding a gold or silver on top. Also with method 2 a black base and silver glitter look nice together. I think I also need to add that the photos do these nails no justice, it is so difficult to get a good shot of glitter.

Sheer Gel Polish Glitter Nail
1. Sheer Glitter Nail
For this method start by applying your basecoat and two coats of colour polish curing between layers, if your colour is not opaque apply more layers. On a palette place a drop of top or base coat and add loose glitter of your desired colour and mix together. Then apply this mixture to the nail, I like to use a dabbing method as it gives more even coverage. Then cure the glitter layer. You can stop here and apply top coat or you can add another layer of the glitter mixture if you want more glitter. Once you have applied your final top coat check to make sure there are no rough areas, if there are then buff the nail and apply another layer of top coat.


Medium Coverage Gel Polish Glitter Nail


2. Medium Coverage Glitter Nail
For this method you want to start the same way as the first method, apply your basecoat and 2 colour coats curing between layers. Get your glitter on a fluffy brush and press the glitter into the sticky inhibition layer. Then cure in your lamp. Now gently dust off ant loose glitter and apply a top coat. Remove the sticky layer and buff the nail before applying a final top coat.


Full Coverage Gel Polish Glitter Nail


3. Full Coverage Glitter Nail
For this method apply your base coat and one coat of colour polish and cure between layers. Next add a second coat of colour but before curing pour on your glitter until it covers the whole nail, shake off any excess and cure in you lamp. Now brush off any loose glitter, apply a top coat and cure. Next remove the sticky layer and buff the nail before applying a final top coat.


Gel Polish Glitter Nails are so easy to do and add such a great accent to any manicure. The colour combinations are endless. I hope these steps made sense, if anyone would like me to elaborate or make a video tutorial please let me know.


Wednesday, January 16, 2013

Manicure and Tutorial


This is what I have on my nails right now, it's really easy so I thought I would share it with you.

Step 1. Always start with clean freshly manicured nails and remove any grease from the nail plate with nail polish remover

Step 2. Apply your favourite base coat to protect your nails and make your manicure last longer. I am using O.P.I Nail Envy.

Step 3. Pick two nail polish colours, they can be contrasting or complementary. You can even use just one colour. I have chosen Orly Purple Crush (pink polish) and O.P.I Fly (blue-green polish).

Step 4. Using a thin nail art brush and a black acrylic paint brush two stripes onto each nail in a cross shape. The crosses can be different on each nail or the same if you prefer. You can use black nail polish for the crosses if you have it. If you want really crisp lines you can tape off your nails in the cross shape. I don't use tape because your nails must be completely dry before putting tape onto the polish.

Step 5. Apply your favourite topcoat and enjoy.

Don't worry if your crosses don't look perfect close up, I always look at my nails from arms length and if they look good from there I'm good to go.

Sunday, October 21, 2012

Easy Temporary Tattoo Nail Art

Hello internet people!

I love doing nail art and I recently lost my nail art guinea pig to overseas travel, so I have been suffering a little bit of nail art withdrawal. I have been spending a lot of time watching nail art videos on YouTube.

I struggle to do nice nail art on my self because it is near impossible to get both hands looking the same quality. As I mentioned in a previous post, I am definitely not ambidextrous. I stumble upon the temporary tattoo technique whilst watching YouTube videos, it basically involves painting your nails, sticking a tattoo on top then sealing with a top coat. Great for getting both hands to look good.

Here are some pictures showing how I did my temporary tattoo nail art.
Start with freshly manicured nails.
I filed my nails, gently pushed back my cuticles and applied cuticle oil.
Make sure you remove the cuticle oil by washing your hands before applying polish.

Always apply a base coat to prevent staining your nails.
I used OPI Nail Envy.

You need to apply a base colour of your choice.
I chose OPI Fly and applied two coats.
Make sure the colour is completely dry before starting with the tattoos.

These are the tattoos I used. They cost $1.

I cut shapes out of the tattoos that I wanted on my nails.
I applied it by placing the tattoo on to my nail then pressing a damp cotton pad on top for 10 seconds.

Thumb with star tattoo applied.

Finished nails with two coats of Nailene Acrylic Strong Top Coat.
I hope you enjoyed my nail art, you can recreate this in your favourite colour and with any tattoos you can find. Remember you can also cut up the tattoos like I did if they are too big for your nails.

Thanks for stopping by. :)

Saturday, October 20, 2012

Quick, Easy, Everyday Eye Make Up

Here is how I do my eyes most days. Occassionaly I will apply a gold shadow to the lid.
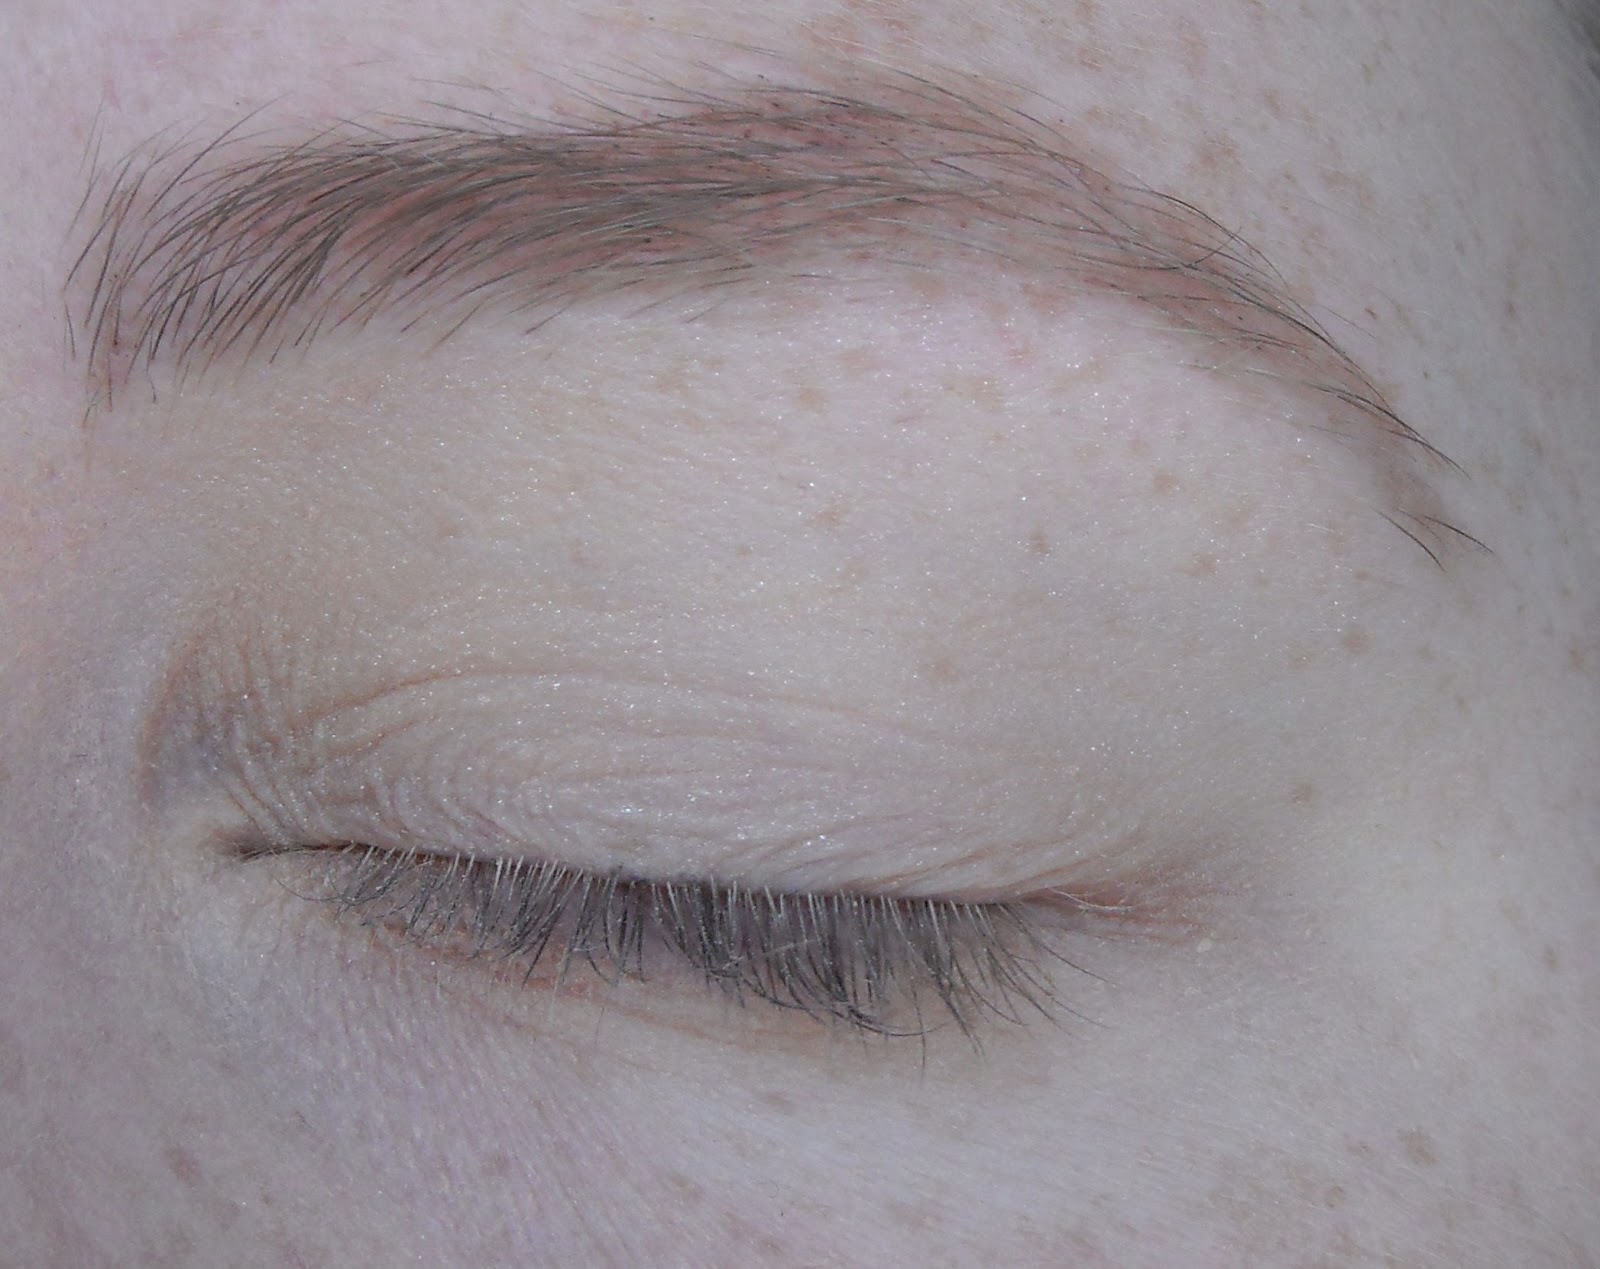
Start with a clean eye.

Fill in your brows if you need to.
I have used a Za eyebrow pencil.

Apply a shimmery skin tone shadow to the entire eyelid up to the brow.
I have used a pale shimmery colour from my Wendy Hill Eye Shadow palette.

Apply a matte brown eye shadow to the crease and outer third of the eyelid.
I have used a Rimmel Eye shadow in the colour Dusk.

Apply the matte brown shadow to the outer two thirds of the lower lash line.

Apply brown gel eye liner close to lash line in a slight wing.
I have used Maybelline's Gel liner in brown.

Tight line your eye with brown gel liner. This step is optional.

Apply Mascara to top and bottom lashes. I have used Rimmel Sexy Curves Mascara.

Eyes

The completed eyes.
This is just a simple look that is quick and easy for early mornings. I hope you like this look and if you have any questions just comment and I'll answer as soon as I can.